|
Back to Blog
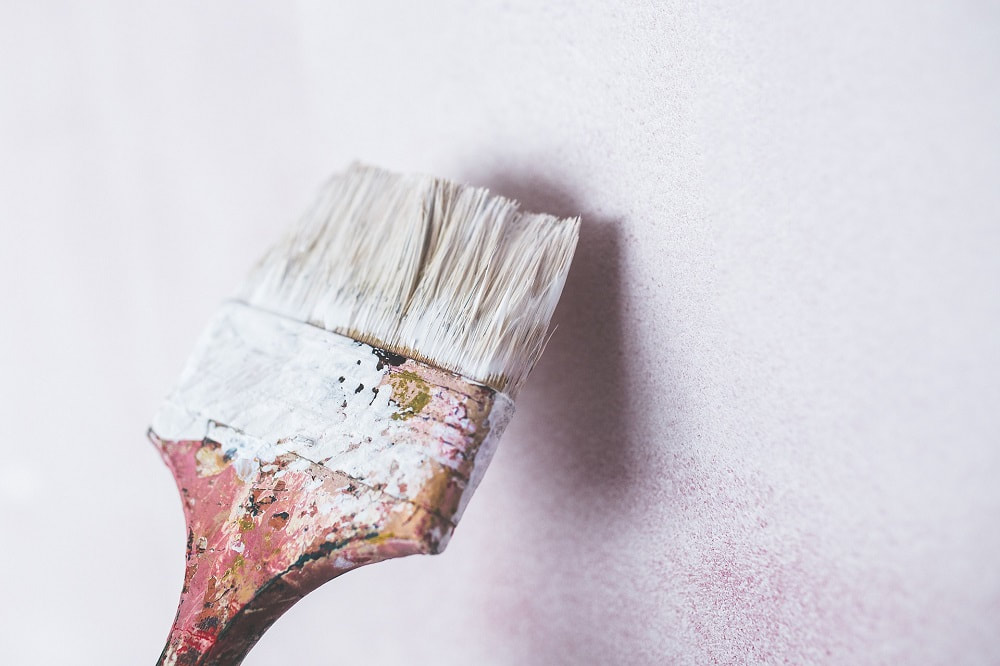
Although some interior walls provide smooth services to make any painting job easy, rendered walls come with a stucco layer over the underlying wood surface or brick. While a lot of homeowners prefer not to paint their newly rendered walls, applying a color coat will be helpful in protecting the surface and offer a good finished look. Here are the steps in painting newly rendered walls. Let your Newly Rendered Walls Get Cured A lot of builders suggest that new stucco needs around 90 days to get the damp rendering get cured. When you paint early, it is likely that this will result in the paint being peeled or blustered. Wash the Walls Using a cellulose sponge and warm water with dishwashing detergent, you can wash your walls. While newly rendered walls can look clean, your paint can adhere correctly through invisible fingerprints. The soap residue must be rinsed from your walls using clean water. Allow your walls to get dry for 24 hours. In order to eliminate dust, lint and cobwebs, you can use a tack cloth. Pat the cloth gently over your walls' surface. Do not rub or scrub the stucco finish. Put Painter's Tape on Areas that Surround the Stucco Walls These areas can include adjoining walls, ceiling, trim and doorways. Place drop cloth or plastic sheet over the furniture and floors so that you can protect these from paint damage. Apply A Coat of Primer to the Walls Choose a primer formulated to be used for stucco finishes. Brush it around the doors, windows and other objects. You can make use of a paint roller that has an 11/2 inches of nap thickness. The primer must be spread over the walls using the roller, in a horizontal zigzag which will be followed by a vertical zigzag making sure that it covers the whole wall surface. Allow the primer to dry for some time based on what is recommended on its label. Apply the Color Coat over the Primer You can use a flat paint so that the thick texture and your wall's pattern will be enhanced. Brush the color against your walls' edges and openings, making borders that have 4 to 6 inches of width. The outer should be overlapped 2 to 3 inches of the boarder you brushed using your paint roller so that you can come up with a nice seal. Let the first coat dry and apply the second coat. If you have found this blog helpful, but need assistance with getting your external walls rendered first, then get in touch. We provide experienced Essex Renderers across the following areas: renderers hornchurch | renderers havering | renderers upminster | renderers romford
0 Comments
Read More
Back to Blog
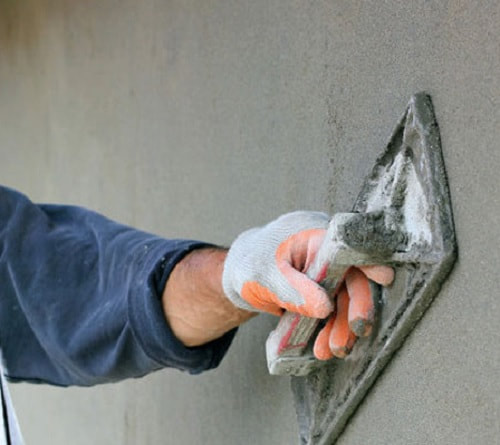
How to prepare a wall for plastering23/3/2020 Where to begin? The main reason you have your walls rendered is to aid in the weather proofing of the exterior and to create a nice finish with attractive textures. Once your walls have been rendered you can finish the job off with a smooth coat or other textured materials such as small stones. But what steps should you take before having your wall rendered is the main question of concern. How can I prepare my wall to be rendered? In order to prepare your wall to be rendered you must first clean the wall efficiently. Next you want to take a good look over the wall and make sure there are no cracks where the rendering is no longer bonded to the wall. This can be done by tapping the wall lightly; you will hear a hollow or bubbled sound if the render is loose. If you would like to patch a crack, you need to widen the crack first with a screwdriver or even a trowel. This will help to remove all the debris and dust from inside the crack and render. Next use the trowel, and press mortar mix into the crack and smooth out. After a crack has been fixed you want to finish with a render coat, that can be put over the whole crack. This will help to disguise your fix up job. Before actually applying the render coat you will want to wash your wall thoroughly with a power washer. If you notice any mold on the wall you will have to wash it with a fungicide to remove it. When it is time to render a wall, you want to make sure you clean it appropriately with a treatment that can help prevent mold and plant growth. You should also put a coat of lime on the wall as it will help to bond and prepare additional coats. The preparation for rendering the wall should cure for at least 4 days before any render can be added. When you actually apply your render coat make sure you use a thin coat about 8 to 10 mm in thickness because some render coats have shrinkage problems. The first coat of your render should be applied as thin coats and then smoothed with a trowel. You will need to apply the render in a circular motion, and avoid overworking it as this will make lime come to the surface. You should also score the render in diagonal strokes; this will help to create a rough surface for the next coat to catch onto to. The last step involves wetting the render down before applying the last coat to it. This will help ensure that the renders stay in place. The majority of rendering services are done with cement renders. This is the best option if you are looking for a long term fix. If the thought of undertaking the rendering of your external walls is too much to bare - don't worry, for help is at hand. Our plastering team has extensive experience of treating and refreshing all types of external walls with new render. We can provide plasterers Romford and other areas around Essex.
Call today for your free quote.
Back to Blog
In extreme temperatures, the coatings on walls and ceilings eventually fails, you need a permanent fixation for odd-effects of damps, waterlogging or cracks. Adding up to the problem, there are always concerns over its maintenance cost and durability of getting your walls painted. Render coating on walls, fences or ceilings in such cases offers the required durability and cost saving for long term.
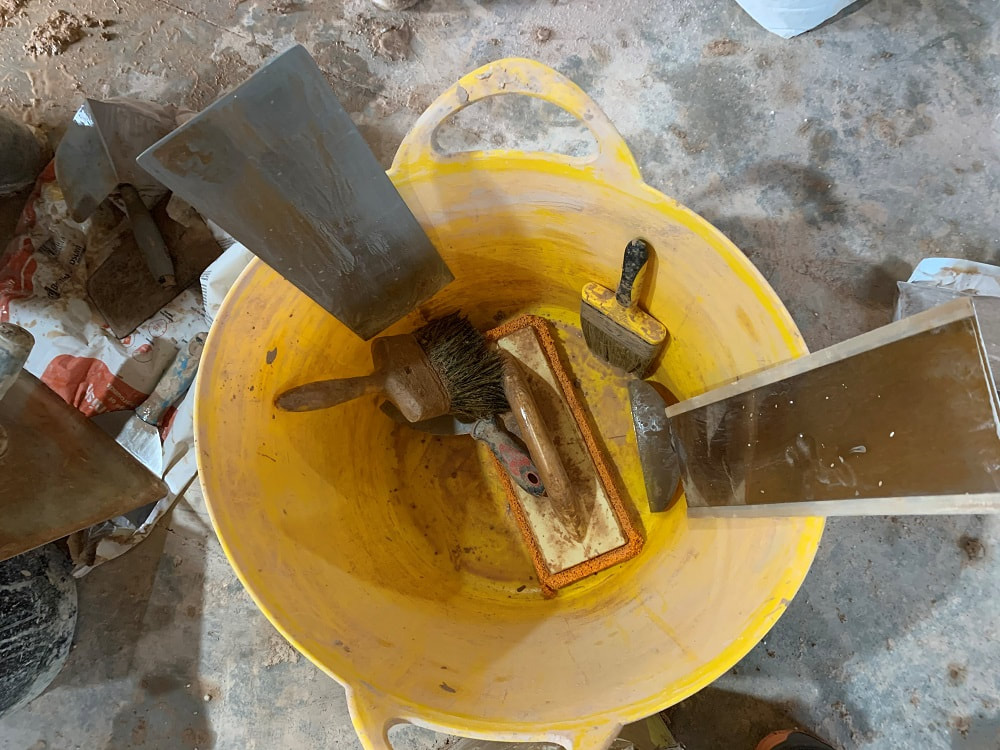
The traditional plastering is basically a process in which a thin layer of cement like product is applied on the walls. This mixture comprises of sand, cement, lime other proprietary ingredients to make it very strong. Once this mixture is applied on the walls or ceilings, it is going to last for decades. These coatings can however be re-painted after application as per your choice. Renders are applied on all kinds of building structures, no matter if it's an old-school building or modern skyscrapers. These can totally transform the look of a common house built by concrete bricks to a modern good-looking landmark. However, in order to create high decorative walls, the PVC mouldings are used along with solid plasters. In the market you will find varieties of renders: > With smooth finish > Pigmented > Polished > Natural and Coloured finish etc. Different traders offer different types of finishing and styles but choosing the best quality of product is your personal decision. Painting an old wall involves much more concentration and efficiency than a new one, because there are typical problems that you might face while getting it rendered: > Lose or flaky paint > Cracks and holes > Moss or green growth on ceilings and walls > Damps > Water penetration > Previous experimentation on walls > Nails, screws, drillings marks > Lose bricks etc. So, in order to fix these issues, various tools like scrappers, heat guns, latest equipment, paint stripper etc. are used as things like algae, moth or damps might grow back and cause some serious threat to your walls. Anyway, the primary concern of renovating your walls is to enhance its appearance, hence the specification and quality of products should provide a degree of performance. The raw materials and quality should be strong enough to withstand Australian heat, strong winds and heavy rainfall, whilst at the same time preventing the structure for moisture which is the biggest culprit in destroying walls within years. Typically, lime coatings require maintenance every year whereas the film-forming systems require maintenance in every 4-5 years. However, render coating can perform 15 years and upwards. Make your home historic and durable by applying render coatings and offer long-term protections to your walls and fencing. So if you are thinking, "where you can find a renderer near me"? Look no further! We can supply a renderer in East London or a renderer in South Essex. Give the GK Rend team a call today by calling 07812 343 766. |
GK Rend
[email protected] / 07812 343 766
Monday to Friday - 8am to 5pm
Copyright © 2024. All rights reserved.
Website designed and maintained by Perfect Layout Digital Marketing
[email protected] / 07812 343 766
Monday to Friday - 8am to 5pm
Copyright © 2024. All rights reserved.
Website designed and maintained by Perfect Layout Digital Marketing


